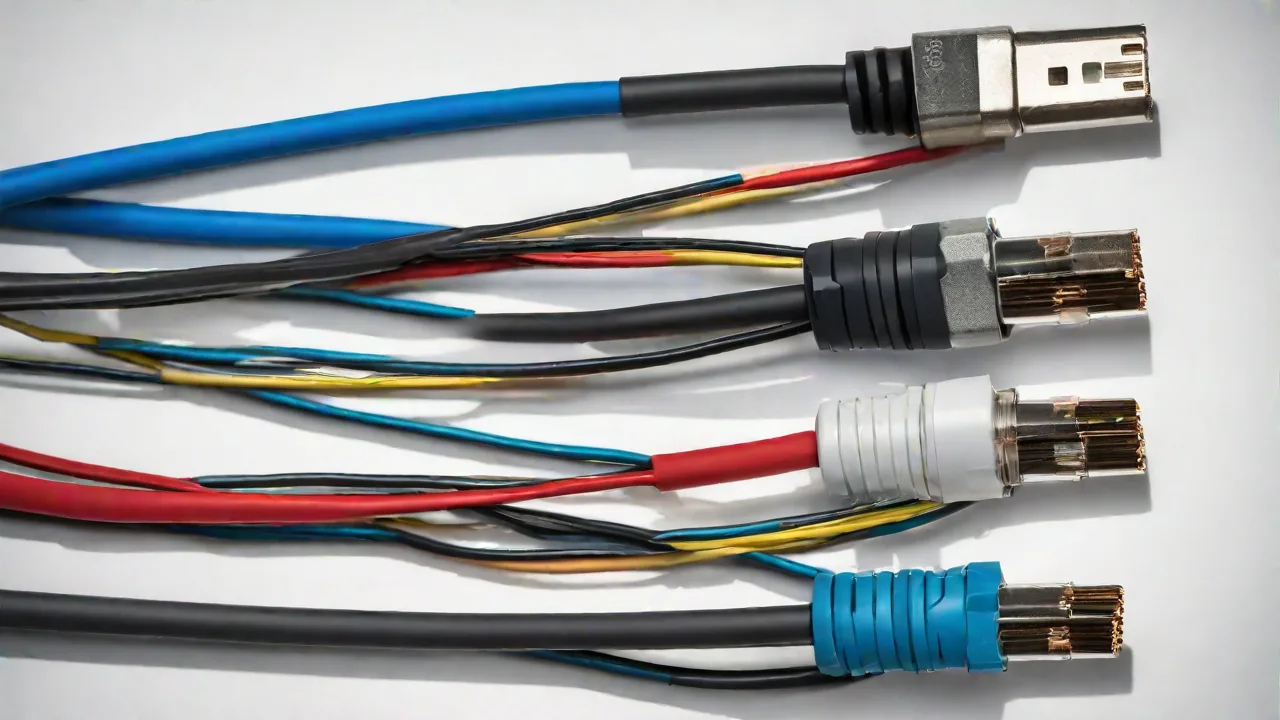
The Role of Ts Cables in Home Recording Studios: Setup and Optimization Tips
What Are TS Cables?
TS cables—an abbreviation for "Tip‑Sleeve"—are the standard unbalanced mono connectors used with electric guitars, basses, keyboards, and many effects pedals. The connector has two conductive parts: the tip carries the audio signal and the sleeve serves as ground. This simple design makes TS cables affordable, durable, and universally compatible with most instrument‑level outputs. Unlike balanced cables (TRS or XLR), TS cables are inherently more susceptible to electromagnetic interference (EMI) and radio‑frequency interference (RFI) because the signal conductor is not shielded by a dedicated return path. However, in a home studio with moderate cable runs (under 20 feet) and proper layout, a quality TS cable delivers clean, transparent sound.
The “mono” designation means a TS cable transmits a single audio channel. For stereo signals you need either a TRS (Tip‑Ring‑Sleeve) cable or two separate TS cables. Most home studio TS cables use a ¼‑inch plug, though 1/8‑inch (3.5 mm) versions exist for certain instruments like portable keyboards or e‑drums. When building your signal chain, always verify whether your gear expects a balanced or unbalanced connection; forcing a TS cable into a balanced TRS jack can cause signal cancellation or increased noise.
Why TS Cables Matter for Home Studios
In a home recording environment, the cable you choose directly affects the noise floor and tonal accuracy of your recordings. A low‑quality TS cable can introduce hum, buzz, and high‑frequency roll‑off that is extremely difficult to remove later. Good cables use oxygen‑free copper (OFC) conductors and effective shielding—typically a braided copper or aluminium foil wrap—to block interference from nearby power supplies, monitors, Wi‑Fi routers, and other studio electronics. Without adequate shielding, your DI track may pick up a persistent hiss or a 60‑Hz mains hum that masks the natural timbre of the instrument.
The conductor gauge (AWG) also influences signal integrity. Thicker wire (lower AWG number) has lower resistance and is better for long cable runs. In a typical home studio, where most runs are 10–15 feet, a 22 AWG or 20 AWG TS cable is ideal. For patch cables on a pedalboard, 24 AWG is often sufficient. The dielectric material (the insulator around the conductor) matters too: polyethylene and PVC are common, but premium cables use foamed polyethylene for lower capacitance, which preserves high frequencies over longer distances.
Shielding and Build Quality
Shielding is the most critical factor for noise rejection in TS cables. Two common types are braided copper and spiral‑wrapped foil. Braided shields offer flexibility and durability, while foil shields provide 100% coverage against high‑frequency noise. Many high‑end cables combine both. The connector quality is equally important: nickel‑plated or gold‑plated jacks resist corrosion and maintain a tight fit. Professional brands like Neutrik, Switchcraft, and Amphenol are industry standards for reliability. Always look for cables with robust strain relief at both ends—this prevents the conductor from breaking where it meets the plug, a common failure point with frequent plugging and unplugging.
Choosing the Right TS Cable for Your Setup
Not all TS cables are the same. The right choice depends on your instruments, cable length, budget, and noise environment. Consider these factors:
- Length: Use the shortest cable that comfortably reaches. Excess cable acts as an antenna for interference and creates clutter. For pedalboards, 6‑inch or 1‑foot cables minimise signal degradation. For guitar‑to‑interface connections, 10–15 feet is typical.
- Gauge: A thicker conductor (lower AWG) reduces resistance. For runs over 20 feet, use 20 AWG or lower. For short patch cables, 22–24 AWG is fine. Thicker cables are also less prone to handling noise.
- Connector Style: Straight plugs are durable for wall‑mounted gear; right‑angle plugs reduce strain on instrument output jacks and audio interface inputs, especially when gear is close together.
- Brand Reputation: Reliable brands include Mogami, Evidence Audio, Hosa, LiveWire, and Monoprice. Read recent reviews to gauge consistency—some budget brands suffer from cold solder joints or poor shielding.
For a home studio on a budget, a well‑shielded Hosa or Monoprice TS cable often outperforms generic no‑name cables. The law of diminishing returns applies: a decent $15–$20 cable is sufficient for most setups. Only invest in ultra‑high‑end cables if you have persistent noise issues, very long runs, or are recording critical acoustic performances.
Setup Tips for Optimal Signal Flow
Proper installation of TS cables ensures your signal stays clean from instrument to audio interface. Follow these practices:
- Direct Connection: Plug your instrument directly into the audio interface using a single TS cable for the simplest, most transparent path. Avoid unnecessary adapters or daisy‑chaining multiple cables.
- Avoid Ground Loops: When using multiple devices (e.g., a pedalboard and interface), ensure all gear shares the same power circuit. Use a power conditioner if you suspect ground loop hum. A common fix is to lift the ground on specific gear only after verifying it’s safe.
- Keep Cables Away from Power Sources: Cross AC power cables at a 90‑degree angle if they must intersect. Keep TS cables as far as possible from power strips, wall warts, and monitor power cables.
- Secure Connections: Always push connectors in until they click. Loose connections introduce crackling and intermittent signal loss. For instrument cables, twist the plug slightly to seat the sleeve and tip contacts securely.
- Label Everything: Use coloured tape or cable tags to identify which cable goes where. This saves time during setup and troubleshooting, especially in multi‑pedal or multi‑synth configurations.
Additionally, consider the signal impedance. High‑impedance instruments (electric guitars, basses) are especially sensitive to cable capacitance. A longer cable adds capacitance that rolls off the high frequencies, making the sound duller. If you must run a long TS cable to a guitar, use a buffer pedal or a dedicated DI box at the source to transform the impedance and drive the cable with a low‑Z signal.
Optimization and Troubleshooting
Even with good cables, noise can creep in. Here are optimisation techniques specific to TS cables in a home studio:
- Use Balanced Connections Where Possible: If your audio interface has balanced inputs (TRS or XLR), use a DI box to convert your unbalanced instrument signal to balanced. This drastically reduces noise over long runs. For typical short runs (under 15 feet), a high‑quality TS cable is fine.
- Keep Signal Path Short: The longer a TS cable, the more susceptible it is to interference. Place your interface close to your instrument. If you must use a long cable, invest in a cable with a thicker conductor and heavy shielding.
- Check for Cable Damage: While monitoring the signal, bend and twist the cable along its length. If noise or static appears, the cable likely has a broken connection internally. Replace it immediately; a damaged TS cable can also damage your interface’s preamp.
- Grounding Issues: Some home studios have poor grounding due to old wiring or ungrounded outlets. A common symptom is a loud hum that disappears when you touch the instrument strings. Use a ground lift adapter on your interface or amplifier only as a last resort (and consult a professional electrician).
- Pedalboard Optimization: Use high‑quality short TS patch cables between pedals. Daisy‑chaining cheap cables can cause tone loss and increased noise. Consider a buffered splitter or a true‑bypass looper to preserve signal integrity.
For advanced troubleshooting, use a multimeter to test continuity and resistance. A good TS cable should show near‑zero ohms between tip‑to‑tip and sleeve‑to‑sleeve, and infinite isolation between tip and sleeve. If you measure significant resistance (more than a few ohms) or see a short, the cable is faulty.
Another overlooked factor is cable capacitance. Every TS cable has a certain capacitance per foot (typically 25–35 pF/ft). When combined with a high‑impedance pickup, this creates a low‑pass filter. For a guitar with 250 kΩ pickups, a 20‑foot cable can already cut audible high frequencies. To compare cable specs, check the manufacturer’s datasheet—lower capacitance per foot is better for long runs.
Common Mistakes and How to Avoid Them
Even experienced home recordists make errors with TS cables. Avoid these pitfalls:
- Using a TS cable where a TRS cable is required: Some gear (balanced outputs from a keyboard, mixer, or studio monitors) expects TRS. Using a TS cable can cause signal loss, increased noise, or even damage the output stage. Always check your equipment manual.
- Coiling cables tightly: Wrapping a cable around your arm or gear creates inductance that can alter high‑frequency response. Use the over‑under technique (alternating loops) to avoid kinks and preserve performance.
- Running cables parallel to power lines: This induces hum. Keep signal and power cables separate or cross them at right angles.
- Using guitar cables for speaker connections: Speaker cables are usually unshielded and thicker to handle high power. Using a TS instrument cable from an amplifier to a speaker cabinet can overload the cable and cause a fire hazard. Never interchange them.
- Ignoring cable aging: Over time, oxidation and mechanical wear degrade TS cables. Replace cables that show visible corrosion, brittleness, or intermittent noise. A spare set of fresh cables can instantly clean up your recordings.
- Believing “all cables sound the same”: While differences are subtle in short runs, in a real studio environment with multiple devices, inferior shielding and higher capacitance can accumulate. Invest in quality for your critical signal paths.
TS vs. TRS vs. XLR: When to Use Each
Understanding the differences helps you make informed decisions for your home studio.
- TS (Tip‑Sleeve): Unbalanced mono. Best for short runs (under 20 feet) with high‑impedance instruments. Use for connections that do not require phantom power and where noise is manageable.
- TRS (Tip‑Ring‑Sleeve): Can carry balanced mono or unbalanced stereo. In a home studio, TRS is used for balanced line‑level connections between interface and monitors, and for connecting some synthesizers. If you have a long cable run to an instrument, use a DI box to convert to balanced TRS.
- XLR: Balanced three‑pin connector. Standard for microphones and long runs (up to hundreds of feet). XLR cables are more robust and less prone to connector wear. For home studios, using XLR from a microphone preamp is typical.
A common workaround: to connect an electric guitar to a balanced input on an interface, use a TS cable into a passive DI box (like a Radial ProDI), then a balanced XLR cable into the interface. This provides excellent noise rejection, especially when the interface is far from your playing position.
For stereo instruments (e.g., a keyboard with stereo outputs), you need two TS cables (or one TRS if the device outputs a stereo signal through a single TRS jack—but verify pinout). Many home studio owners mistakenly use a single TS cable for a stereo keyboard, which sums both channels to mono and often adds phase issues.
Recording Specific Instruments with TS Cables
Electric Guitar
Guitar pickups output a high‑impedance, unbalanced signal. The cable capacitance has a noticeable effect on tone—typically a slight roll‑off of treble as length increases. For a classic “vintage” sound, some players even prefer longer cables (18–20 feet) to tame harsh high frequencies. However, for a clean DI recording, a short, low‑capacitance TS cable preserves sparkle. If you use a pedalboard, place a buffer pedal early in the chain (or use a dedicated buffered patch cable) to maintain high frequencies over long cable runs to the interface.
Bass Guitar
Bass is less sensitive to cable capacitance because low frequencies are not as affected. However, hum and interference become more noticeable with high‑gain bass signals. Use a well‑shielded TS cable and keep it away from power supplies. Active basses (with built‑in preamps) output a lower‑impedance signal, making them slightly less susceptible to noise.
Keyboards and Synths
Most keyboards have unbalanced TS outputs, but some have balanced TRS outputs. Check the manual. For a typical home studio, a good TS cable to a direct input is fine. If your interface has only balanced inputs, consider a DI box or use a balanced TRS cable if the synth supports it. Many modern synthesizers include a ground lift switch on the output—use it if you encounter hum when grounded through the audio cable.
Cable Management and Organization
Good cable management reduces noise and makes your studio easier to use. Follow these tips:
- Use cable ties or velcro straps to keep TS cables neatly bundled. Avoid tight wraps that cause strain.
- Route cables along dedicated cable trays or under desks, away from power cables. Use cable bridges if crossing is unavoidable.
- Label both ends of each cable with a number or colour code. This simplifies troubleshooting and reconfiguration.
- Invest in a cable tester (like Behringer CT100) to quickly verify continuity and polarity. A faulty cable can waste hours of studio time.
- Replace old cables periodically—especially if you notice increased noise or intermittent contacts. Keep a spare set for quick A/B testing.
Maintenance and Longevity
TS cables can last for years with proper care. Follow these maintenance tips:
- Store cables loosely coiled in a cable bag or on a hook. Avoid sharp bends.
- Clean connectors occasionally with a contact cleaner (DeoxIT) to remove oxidation. A cotton swab with isopropyl alcohol also works—allow to dry completely before use.
- Inspect cables before each use: look for cuts in the jacket, bent plugs, or loose strain relief. Replace any cable that shows physical damage.
- Never pull on the cable to disconnect; hold the plug body.
- If you solder your own cables (advanced), use quality cable like Mogami W2319 or Canare GS‑6 and Neutrik connectors for consistent results. Learn proper soldering technique to avoid cold joints.
Replacing a single bad cable can transform your recording quality. Keep a few spare TS cables in your studio to swap out when troubleshooting.
Final Thoughts
TS cables are the unsung heroes of home recording. Their simple design belies the impact they have on signal integrity. By choosing cables with proper shielding, maintaining them, and optimising your signal routing, you can achieve cleaner recordings and a more reliable setup. Invest in a few quality TS cables for your critical instrument connections—the improvement in noise floor and clarity will be audible. For further reading, check out Sweetwater’s guide to TS vs. TRS cables for a detailed comparison, Sound On Sound’s article on cable noise for advanced troubleshooting, and Mogami Cable’s reference materials on construction standards. With these insights, your home studio will benefit from a more professional and interference‑free audio path.